Closet Confessionals | The Luxe Sparkle Starter Kit: Building a High-Quality Jewelry Collection From Scratch
Hello Everyone,
I hope all is well and you’re thriving! Welcome to the very first edition of Closet Confessionals—a series where we unpack what it means to build a wardrobe that reflects not just our style, but our values, goals, and self-worth.
Today’s confession? I’m just starting to build my jewelry collection.
Not the costume stuff (though we love a good statement piece from Claire’s), but the kind of jewelry that lasts—crafted with intention, made to be worn on your best days and your messiest ones. Think: solid gold instead of gold-plated. A pair of diamond studs you never take off. A locket that feels like your story—not just an accessory.
I’m not coming to you as an expert—I’m coming as a student. A student of taste, of longevity, of financial responsibility, and of self-worth. This post isn’t a tutorial from someone who owns Cartier. It’s a guide for those of us learning what to look for, what’s actually worth the price tag, and how to start small—but smart.
Let’s figure it out together.
The Budget That Makes It Real
The first myth I had to unlearn: luxury doesn’t have to mean all at once.
Instead of trying to “catch up” or buy a haul of heirloom pieces overnight, I’m choosing to think long-term. Here’s what I’m doing:
1. The Jewelry Envelope
I created a jewelry sinking fund—a specific savings account I contribute to monthly, just like I would for bills or groceries. Even if it’s only $30–$50, it adds up fast. It’s like a little vault that grows quietly in the background, giving me permission to plan a piece intentionally instead of impulse spending on trends.
If you want to learn how to use sinking funds and savings accounts to budget for luxuries without the guilt? Check out my full blog post here for a beginner-friendly breakdown.
2. Price-Per-Wear (PPW) > Price Tag
Instead of panicking at a $300 price tag, I ask:
“How often would I wear this?”
If I wear something 100 times, that $300 ring is $3 per wear—and I’d rather that than $20 earrings I wear once and lose. It’s not about being cheap. It’s about being intentional.
3. The Ladder System
I’m breaking down my collection by categories and levels. Here's how:
Level 1: Everyday Basics
Think: simple hoops, studs, or a go-to chain—pieces you can wear 5+ days a week.Level 2: Signature Upgrades
A bolder chain, a stacking ring, or something engraved that says, this is me.Level 3: Investment Icons
A forever piece: diamond studs, a tennis bracelet, or a nameplate made to last generations.
I'm not climbing the ladder overnight. But I know what rung I’m on—and what I’m aiming for.
What to Buy First
Let’s say you’re starting from zero. The best advice I’ve seen (and now believe): pick one category lane and stay there for your first few pieces.
For me, that means a simple rule:
👉🏽 Gold must be 18k or higher—including white gold.
👉🏽 Sterling silver is always welcome.
👉🏽 Gold-filled is the only exception I’d recommend for those starting out. I have three gold-filled necklaces that I have worn 24/7 and has yet to tarnish.
As someone obtaining a bachelors in biochemistry i’m building with longevity and chemistry in mind. No plated shortcuts, no green fingers. Just real materials that age beautifully—and can actually be worn every day.
Here are the three jewelry “lanes” I considered for my first intentional piece:
Lane 1: Ear Game Strong
A signature pair of hoops or studs you can live in.
Sterling silver works beautifully for everyday earrings—durable, timeless, and nickel-free.
18k or white gold offers lasting luster, hypoallergenic wear, and real softness over time.
Add lab-grown gems or pearls to elevate while keeping it classic—they’re not only cost-effective, but often far more environmentally friendly than mined stones, using fewer resources and avoiding the harsh impact of extraction.
📝 Expect to invest a few hundred dollars for 18k earrings—but they’ll become part of your signature look for years to come.
Lane 2: Chain Reaction
Your foundational necklace—delicate enough to layer, bold enough to stand alone.
Sterling silver chains in curb, rope, or box styles are a smart, minimalist starting point.
18k+ gold chains offer warmth, glow, and timeless elegance.
Consider adding a pendant or locket later as your story grows.
📝 18k gold chains typically start around $300–$500 depending on length and weight. Avoid anything under 1mm for longevity.
Lane 3: Ring Finger Energy
That ring you reach for every single day—no matter the outfit.
Sterling silver bands or signets are a solid staple with personal energy.
18k+ gold bands can be worn daily without tarnish and soften beautifully over time.
Think engraved details, birthstones, or a low-profile solitaire for a personal upgrade.
📝 An 18k gold band typically starts around $250–$400 and lasts a lifetime with minimal maintenance.
Lane 4: The Gold-Filled Gateway
Not ready for 18k just yet? Gold-filled jewelry is the next best thing—real gold pressure-bonded to a base metal, not just dipped like plated jewelry.
Ideal for those who want the gold look and durability on a beginner budget.
Works best for low-friction wear—like necklaces, earrings, or loose-fitting rings.
Look for pieces labeled 14/20 gold-filled or higher with clear wear care guidance.
📝 Gold-filled isn’t forever, but it can hold up beautifully for 1–5+ years with proper care—making it a strong stepping stone for new collectors.
Whatever lane you choose, lead with intention. One thoughtfully chosen piece—in a material you believe in—is the beginning of a collection you’ll wear with pride.
Quality Checks (Without a Jeweler’s Loupe)
Let’s be honest—shopping for jewelry can feel like navigating a minefield of marketing words and mystery metals. You’ll see phrases like “gold tone,” “vermeil,” or “water-resistant,” and wonder, wait, is this even real?
Here’s how I’m learning to check for quality—no jeweler’s loupe required.
Start with the Stamps
Every real metal piece should have a hallmark. It’s tiny—but it’s everything.
18k / 750 = 75% pure gold
22k / 916 = 91.6% pure gold
24k / 999 = 99.9% pure gold (softer and more yellow—often used in heirloom or cultural pieces)
925 = Sterling silver (92.5% silver + 7.5% alloy for strength)
Pt950 = 95% platinum
14/20 GF = Gold-filled (5% real gold by weight, pressure bonded—not plated)
📌 If it doesn’t have a stamp and you’re paying more than $50? Walk away.
Gold? Go 18k or Up
I only wear 18k gold or higher—including white gold. Why? Because:
It’s less likely to tarnish or react with your skin.
It holds more intrinsic value.
It wears beautifully—developing a soft patina instead of fading or flaking.
If you see “gold-plated” with no karat info or a suspiciously low price? That’s usually code for quick wear-off and green fingers. Pass.
Sterling Silver Is Worthy
Sterling silver is one of the most underrated metals. It’s durable, timeless, and versatile—and if you care for it, it can last just as long as gold.
Look for the 925 stamp, avoid silver-plated imposters, and use anti-tarnish strips or soft pouches to keep it bright.
Lab-Grown Over Mined
If you’re exploring diamonds or stones, lab-grown is my go-to.
It’s chemically identical to mined diamonds—but:
Uses fewer resources (less land, water, and energy)
Avoids the human and environmental toll of traditional mining
Often comes with better price transparency and certification
Ethical and sparkly? Yes, please.
Choose Smart Construction
Details matter—here’s what I’m watching for now:
Clasp Quality: Lobster clasps > spring rings. They’re more secure, especially for heavier chains.
Chain Style: Cable, curb, and rope chains are stronger and less prone to tangling.
Stone Settings: Bezel and low-profile prongs are safer for daily wear and don’t snag easily.
Cultural Notes on Purity
Many cultures—especially South Asian, African, and Middle Eastern communities—prefer 22k or 24k gold for heirloom pieces. These high-karat styles have deep cultural, spiritual, and financial value, and are often passed down through generations.
While 24k gold is too soft for everyday rings or clasps, it shines in bangles, pendants, and investment pieces. If you’re building a collection rooted in heritage or symbolism, don’t be afraid to go bold.
TL;DR – My Quality Checklist:
Look for stamps: 18k/750, 925, 22k/916
Stick to real metals (18k+ gold, sterling silver, platinum)
gold-filled if you’re starting out and want better than plated
Avoid mystery plating and unlabeled gold
Choose secure clasps and durable chain links
Prioritize lab-grown stones for ethics + clarity
Consider cultural purity if it speaks to you
Care Tips for Long-Term Wear (Without the Paranoia)
Let’s be real—your jewelry isn’t museum-grade. It’s life-grade. It’s meant to be lived in, not locked away. Still, the way you care for it determines how long it stays beautiful—and how well it ages alongside you.
Here’s what I’ve learned about caring for your pieces, whether you’re rocking 18k gold, sterling silver, or gold-filled gems that have been holding their own:
You Can Wear It—But Know the Trade-Off
Yes, athletes wear chains. Yes, brides wear their rings 24/7. And yes, my gold-filled pieces have held up beautifully. But even the most durable jewelry will show signs of love over time. That’s not failure—it’s character.
Sweat, chlorine, and hard water can speed up tarnish or wear—especially for gold-filled and silver.
18k gold? She’s unbothered. Shower-safe and made to mellow into a soft glow.
Just check your pieces occasionally for changes in texture, color, or clasps loosening.
📝 You don’t have to take it off every time—just don’t be surprised if it changes with you.
How to Store It (When You’re Not Wearing It)
Use soft pouches, velvet trays, or individual compartments to prevent scratches or tangles.
For silver, add an anti-tarnish strip to slow down oxidation.
Store in a dry, shaded space—not a steamy bathroom or plastic bag.
📝 If it matters to you, protect it like it does.
How to Clean It (Without Damage)
Mix mild dish soap with warm water and gently brush with a soft toothbrush.
Pat dry with a microfiber cloth.
For silver, use a polishing cloth or baking soda paste (not dip, unless you know what you’re doing).
Avoid chemical dips on plated or gold-filled items—they strip the finish faster.
📝 Think of your cleaning routine like skincare: gentle, consistent, and never abrasive.
Ritual, Not Rules
Once a month, I plan to do a quick jewelry check. Not just to clean—but to reconnect. These pieces represent moments, intentions, milestones. They deserve more than just wear; they deserve awareness.
Whether it’s a chain I never take off or a ring I wear for special occasions, I want it to last because I took a little time to care.
Jewelry can handle your lifestyle—as long as you’re okay with how it evolves. Whether it’s 18k gold or gold-filled, expect it to soften, scratch, or shift with you. That’s not failure. That’s life.
And in terms of care: you’re not doing anything wrong. You’re just living in your jewelry. The only real “rule” is to check in with your pieces like you do with your skin—clean, moisturize (polish), and store with love.
💎 Final Thoughts
Building a fine jewelry collection isn’t about chasing trends or status—it’s about alignment. With your values. With your style. With the version of you that deserves softness, sparkle, and stability.
Whether it’s your first 18k gold ring or a sterling silver chain that holds a memory, the point isn’t how much you spend. It’s how thoughtfully you choose. My goal? To own fewer pieces that mean more. To buy slower, smarter, and with the kind of intention that makes every wear feel like a ritual.
If you’re on this journey too—whether you’re saving up, just starting out, or already stacking your heirlooms—I hope this post helped you take one intentional step forward.
Tress Code | Discover Your Moisture Blueprint
Hello Everyone,
I hope all is well and you are thriving!
In today’s episode of our Tress Code series, where science meets self-care, we’re diving into one of the most important (and honestly, underrated) parts of hair care—porosity. If you’ve ever felt like your hair drinks up product like a smoothie, or just lets it sit there like it’s been left on “read,” you’re not alone. Understanding porosity is the key to unlocking a routine that actually works—and one that supports your hair's natural moisture flow instead of fighting against it.
What Is Hair Porosity, Really?
Hair porosity is your hair’s ability to absorb and retain moisture. It’s less about your curl pattern and more about the structure of your hair cuticle—the outer layer that acts like a gatekeeper for hydration. Think of it like your hair’s “moisture door”: is it locked tight, halfway open, or wide open with no screen?
It’s important to emphasize that porosity isn’t the same as curl pattern. Curl pattern refers to the shape of your strands, while porosity is all about how your hair behaves with moisture. You can have straight hair with high porosity or tight coils with low porosity—it all comes down to how open or sealed your cuticle layer is, not how your hair looks.
🔍 Quick Science Note:
Your porosity is influenced by genetics, chemical processes (like bleach, relaxers, or keratin treatments), heat damage, and even your climate or water quality. So yes—it can change over time.
✨ Whether you wear your hair straight, wavy, or curly, knowing your porosity helps you choose the right:
Products (lightweight vs. rich)
Techniques (steam vs. cold rinses)
Oils or butters (depending on how well your hair seals)
The Water Test: Try This at Home
If you’re not sure what your porosity is, there’s a super simple at-home method to give you a quick clue: The Water Test. All you need is a clean glass of water and a single strand of hair.
What Your Results Might Mean:
Floats at the top → You likely have low porosity hair. The cuticle layer is tightly sealed, making it harder for water to penetrate.
Hovers in the middle → This suggests medium/normal porosity. Your hair lets in just the right amount of moisture and holds onto it well.
Sinks quickly to the bottom → You’re probably dealing with high porosity hair. Moisture floods in fast but can escape just as easily.
⚠️ Important Note:
This test is a starting point—not a final diagnosis. Hair texture, product residue, and even water temperature can affect results. For the most accurate read, pair the test with how your hair actually behaves day-to-day (which we’ll cover in the next section).
Porosity Profiles: Spot Your Type
Even if the water test gave you a clue, your day-to-day hair behavior can tell you way more. Below are the hallmark signs of each porosity type—plus how to work with your hair’s nature, not against it.
Low Porosity Hair
Signs:
Water beads on your hair instead of soaking in
Products tend to sit on top (hello, build-up)
Takes forever to air-dry
Protein treatments make your hair feel stiff or brittle
Moisture Blueprint:
Quench: Use lightweight, water-based leave-ins and warm water to help open the cuticle.
Seal: Light oils like argan, grapeseed, or sweet almond that won’t weigh hair down.
🔑Pro tip: Apply deep conditioner with heat or steam to help it penetrate.
Medium (Normal) Porosity Hair
Signs:
Hair absorbs and holds moisture well
Styles last without frizzing out too fast
Air-dries in a reasonable amount of time
Not overly sensitive to protein or product changes
Moisture Blueprint:
Quench: Use balanced, cream-based products that hydrate without overloading.
Seal: Midweight oils like jojoba, olive, or baobab.
🔑 Pro tip: Keep your routine consistent but simple—your hair likes balance.
High Porosity Hair
Signs:
Soaks up water fast—but dries just as quickly
Always feels dry or frizzy no matter how much product you use
Gets easily tangled or rough to the touch
Responds well to protein treatments (at first)
Moisture Blueprint:
Quench: Use rich, protein-infused deep conditioners to strengthen the cuticle.
Seal: Thick oils or butters like castor oil, shea butter, or cupuaçu.
🔑 Pro tip: Finish with a cool water rinse or a pH-balancing conditioner to help smooth lifted cuticles and reduce moisture loss.
Porosity Myths—Busted
There’s a lot of misinformation floating around when it comes to porosity. Let’s clear a few things up:
❌ “Your porosity never changes.”
Truth: Porosity can absolutely change over time. Chemical treatments, heat styling, sun exposure, and even your water quality (like hard water) can raise or damage your cuticle, shifting your porosity level.
❌ “Porosity only matters for curly hair.”
Truth: Porosity affects everyone with hair—regardless of texture, ethnicity, or styling routine. It's about moisture flow, not hair shape.
❌ “If your hair is dry, just add more product.”
Truth: It’s not just what you use—it’s how your hair absorbs and holds it. Without understanding porosity, you might be piling on products that never truly penetrate.
❌ “Protein is bad for your hair.”
Truth: Protein is essential for high porosity hair—but too much can make low porosity hair feel stiff or coated. Balance and porosity-aware usage matter more than generalizations.
❌ “You can tell your porosity just by looking at your hair.”
Truth: Porosity is a microscopic characteristic—it’s about how the cuticle layer behaves, not how shiny, thick, or frizzy your hair looks. Testing and paying attention to how your hair absorbs and retains moisture is more reliable.
❌ “The water test is 100% accurate.”
Truth: The water test is just one clue—not a definitive answer. It can be influenced by surface tension, leftover product, or the diameter of your hair strand. Always pair it with how your hair responds to real-life moisture.
🧭 What’s Your Moisture Blueprint?
Now that you understand how porosity works, you’re one step closer to building a hair care routine that actually makes sense for you. Whether your hair holds onto moisture for dear life or lets it slip right through, knowing your porosity helps you work with your hair—not fight it.
Ready to take the next step? Head over to Tress Code | The Quench & Seal Duo for Your Porosity—where I break down the best oils for each porosity type and introduce a universal hydrating scalp serum that can support retention from the root.
It’s not about overloading your routine—it’s about pairing the right nourishment with your hair’s structure.
Already found your porosity match?
👉 Share your experience, tag me in your #MoistureBlueprint, or comment below with your favorite sealers. Let’s decode this together.
Aging Gracefully | Waxing at Home: From SugaringNYC to Bathroom Floor Brazilians
Hello Everyone,
I hope all is well!
Today, we’re diving into something a little personal, a little hilarious—and honestly? A little empowering. Let’s talk at-home waxing.
This post is for the high-maintenance individual on a budget, the sustainability monarch trying to cut waste, or anyone curious about taking their beauty routine into their own (gloved) hands. Whether you're looking to ditch the salon, bond with your mom (lol), or just save some coin—I'm breaking it all down: the methods, the tools, the why, and the healing chaos of doing it all on your bathroom floor.
Let’s get into it.
You Let Your Mom Do What Now?
Yep. You read that right. My mom does my Brazilians and underarms now—and no, I’m not joking.
After three and a half years of shelling out coin at SugaringNYC and European Wax Center, I decided it was time to take matters (and melted wax) into my own hands. Or rather… my mama’s. With my guidance (and a few awkward tutorials), she’s officially become my at-home esthetician. And just so we’re clear—my mom’s a licensed cosmetologist, even if I’m currently her only client for all things beauty. So yes, she knows exactly what she’s doing. And honestly? We eatin’.
The Routine Breakdown
Let’s be clear: I don’t do it all myself. It’s a tag-team operation.
Legs? That’s all me. I sugar them myself, because it's gentle, sustainable, and not nearly as scary.
Underarms and Brazilians? That’s where my mom comes in—with hard vegan wax, gloves on, and good music playing.
Why I Made the Switch
Being a broke student with high-maintenance taste is a personality trait I’ve fully accepted. Salon visits were eating into my budget, and honestly, I wanted to feel empowered, not dependent.
Sugaring is cheap (literally sugar, lemon, and water if you wanna make it), beginner-friendly, and eco-conscious. But for the coarser areas? Hard vegan wax gives what it needs to give without the pull of the hair follicles as the wax is laid.
And having my mom involved? Surprisingly healing. It’s awkward at first, yes—but eventually, it turns into a moment of care, trust, and lowkey comedy.
The Wax Types, Explained (aka What You Should Know Before Jumping In)
This chart breaks down the three main wax consistencies—soft, medium, and hard—by their ideal use areas, texture, and key usage notes. It’s a quick reference for choosing the right product for different parts of the body during at-home sugaring or waxing.
I personally keep both medium and hard sugar wax in rotation. Medium gets used on legs and stomach. Hard comes out for serious missions.
My Toolkit (aka The Glow-Up Arsenal)
If you're new to DIY waxing, here's what I actually use:
Wax Machine Kit or Wax Machine - To warm your hard vegan wax.
Gloves – Clean hands, always.
Body Powder – Especially clutch for sweaty underarms or inner thighs.
Hard Vegan Wax & Hard Sugar Wax – I buy mine from SugarDoh and Crybaby.
Sugaring Tool and Wax Applicators – Essential for precision + wrist-saving flicks.
Calm Energy – Do not rush your pubic region, chile.
Post-Care Must-Haves (No Skipping Allowed)
Aftercare isn’t optional. It’s what makes your wax last and keeps your skin happy.
Fur Chemical Exfoliant or SugarDoh Chemical Exfoliant– Wait 48 hrs, then exfoliate 2–3x/week. A serum to prevent ingrown hairs and discoloration.
Physical Exfoliant – I use a Morroan Kessa Mitt or Japanese Exfoliating Cloth
Healing Oil or Aloe Vera or Soothing Gel – Keep inflammation down and soothe skin.
Fragrance-Free Everything – Lotions, oils, sprays. Leave the scents for another day. Just use Coconut Oil as a moisturizer and Baby Powder as a deodorant.
Pro Tips So You Don’t Cry Mid-Wax
Exfoliate 24–48 hrs before. Prevents ingrowns & gives you a cleaner pull.
Clean + dry skin only. Body powder helps when you're nervous-sweating.
Apply OPPOSITE to hair growth, flick WITH it. The golden rule.
Too sticky? Add water. Too hard? Warm it slightly.
No double-dipping paste. That’s just nasty.
Keep skin taut while pulling. Reduces pain + helps grip.
Avoid heat, friction, and fragrance for 24 hrs. That does mean no sexual intercourse.
Breathe. Relax. Play Beyoncé, Burna Boy, Karol G, or Dystinct.
Stick to the cycle. Underarms every 2 weeks, Brazilians every 4–6.
Sweat = pain. So take your time and stay cool (literally and figuratively).
Final Thoughts
Doing your own waxing (or letting your mom do it 😭) might sound wild—but it’s changed my whole routine. It’s cheaper, cleaner, and kind of… sacred? There’s something empowering about reclaiming a process so often associated with pain and performance and turning it into a ritual of care.
So no, you don’t have to learn to do this yourself. But if you’re curious, broke, or both—I got you.
Tress Code | The Quench and Seal Duo for Your Porosity
Hello Everyone,
I hope all is well!
In today’s episode we will be discussing hair oils that would pair well with your porosity!
When it comes to healthy, thriving hair, length isn’t just something you grow—it’s something you keep. And keeping it starts with mastering the two-part routine your hair craves: quenching it with moisture and sealing that moisture in. The key? Knowing your hair's porosity. Whether your strands soak in hydration like a sponge or resist it like a waterproof coat, matching the right hydrating serum and oil combo to your porosity level can transform your hair’s ability to retain length, shine, and strength.
Low Porosity Hair: Seal and Soften Without Suffocating
Porosity Profile:
Tightly closed cuticles. Moisture and products struggle to get in, but once they’re in, they tend to stay. Prone to buildup.
What to Look For in Serums:
Look for water-based, protein-free serums with light humectants like aloe or hyaluronic acid that absorb best with heat.
Hydrating Serums to Quench:
Aloe Vera Juice Mist – Lightweight and soothing, it gently hydrates without overwhelming closed cuticles.
Rose Water + Glycerin Blend – A humectant-rich spray that softens and draws in moisture gradually.
Numbuzin No. 6 Deep Sleep Mask Serum – A water-based serum packed with humectants and hyaluronic acid that hydrates effectively without buildup; best applied with steam or on damp hair.
What to Look For in Oils:
Lightweight, penetrating oils that won’t sit on top or cause greasy buildup.
Best Oils:
Argan Oil – Lightweight, rich in Vitamin E, helps soften and smooth without weighing hair down.
Sweet Almond Oil – Absorbs easily, boosts elasticity, and smells divine.
Jojoba Oil – Mimics natural sebum, balances scalp and moisturizes ends.
Grapeseed Oil – Ultra light, strengthens strands and helps with frizz control.
Pumpkin Seed Oil—a versatile, DHT-blocking, antioxidant-rich oil that works across all porosity levels when applied with intention.
Camellia Oil – A silky, non-greasy oil rich in oleic acid rather than linoleic acid, it absorbs better with heat and adds softness without buildup.
Tip:
Apply oils after using steam or heat to help open the cuticle for better absorption.
Medium/Normal Porosity Hair: Maintain and Nourish
Porosity Profile:
Cuticles are looser and balanced—moisture is absorbed and retained fairly well. This type is most adaptable.
What to Look For in Serums:
Look for balanced serums with moderate humectants, antioxidants, and hydration that won’t overwhelm or underdeliver.
Hydrating Serums to Quench:
Aloe + Green Tea Leave-In Spray – Lightweight but rich in antioxidants and gentle hydration.
Rice Water Ferment Mist – Adds strength and slip while keeping moisture levels steady.
Flaxseed Gel-Based Serum – Natural curl definition with moisture-binding properties.
Numbuzin No. 6 Deep Sleep Mask Serum – Balances hydration levels perfectly with a blend of humectants, hyaluronic acid, and soothing botanicals for healthy elasticity and softness.
What to Look For in Oils:
Versatile oils that nourish, protect, and enhance shine without disrupting moisture balance.
Best Oils:
Olive Oil – Strengthens, softens, and adds sheen without being too heavy.
Avocado Oil – Full of vitamins A, D, and E; deeply nourishing and great for occasional hot oil treatments.
Pumpkin Seed Oil—a versatile, DHT-blocking, antioxidant-rich oil that works across all porosity levels when applied with intention.
Camellia Oil – Lightweight but potent—used in Japanese haircare for centuries.
Marula Oil – Antioxidant-rich and smoothing without clogging follicles.
Tip:
Layer oils with leave-ins or light creams for a retention-friendly routine.
High Porosity Hair: Fill, Fortify, and Lock It In
Porosity Profile:
Gaps in the cuticle layer let moisture in easily—but it also escapes quickly. More prone to frizz and dryness.
What to Look For in Serums:
Look for rich, humectant-heavy serums with strengthening ingredients like panthenol or protein to deeply hydrate and fill gaps.
Hydrating Serums to Quench:
Aloe Vera Gel or Juice + Honey Mix – Deeply hydrating, ideal for filling in porous gaps.
Hydrating Leave-In with Glycerin + Panthenol – Holds water in and adds strength to weak spots.
Numbuzin No. 6 Deep Sleep Mask Serum – A deeply quenching serum with multiple forms of hyaluronic acid and botanicals that restore moisture and smoothness to overly porous strands.
What to Look For in Oils:
Heavier, sealing oils that can fill cuticle gaps and prevent moisture loss.
Best Oils:
Castor Oil (Jamaican Black Castor Oil) – Thick and sealing, great for ends and edges.
Shea Butter Oil – Rich in fatty acids, creates a barrier that locks in hydration.
Baobab Oil – Strengthens and restores elasticity, ideal for damaged high porosity strands.
Hemp Seed Oil – Fatty acid-rich, boosts scalp health and improves density.
Pumpkin Seed Oil—a versatile, DHT-blocking, antioxidant-rich oil that works across all porosity levels when applied with intention.
Camellia Oil – Lightweight yet nutrient-rich, it helps smooth frayed cuticles and reduce moisture loss when layered properly. Ideal when layered under heavier oils or butters.
Tip:
Use oil as the final step in your LOC or LCO method to seal in moisture and minimize breakage.
Final Thoughts: The Science of Retention is Personal
Hydration keeps your strands supple and elastic—preventing breakage from dryness. Sealing locks in that moisture, extending the time your hair stays hydrated between wash days. One without the other is like watering a plant and forgetting to mulch it. For lasting retention, you need both the quench and the seal.
Visionary Edit | Mastering My Manicure: A $1,200 DIY Glow-Up
Hello Everyone,
I hope you are well!
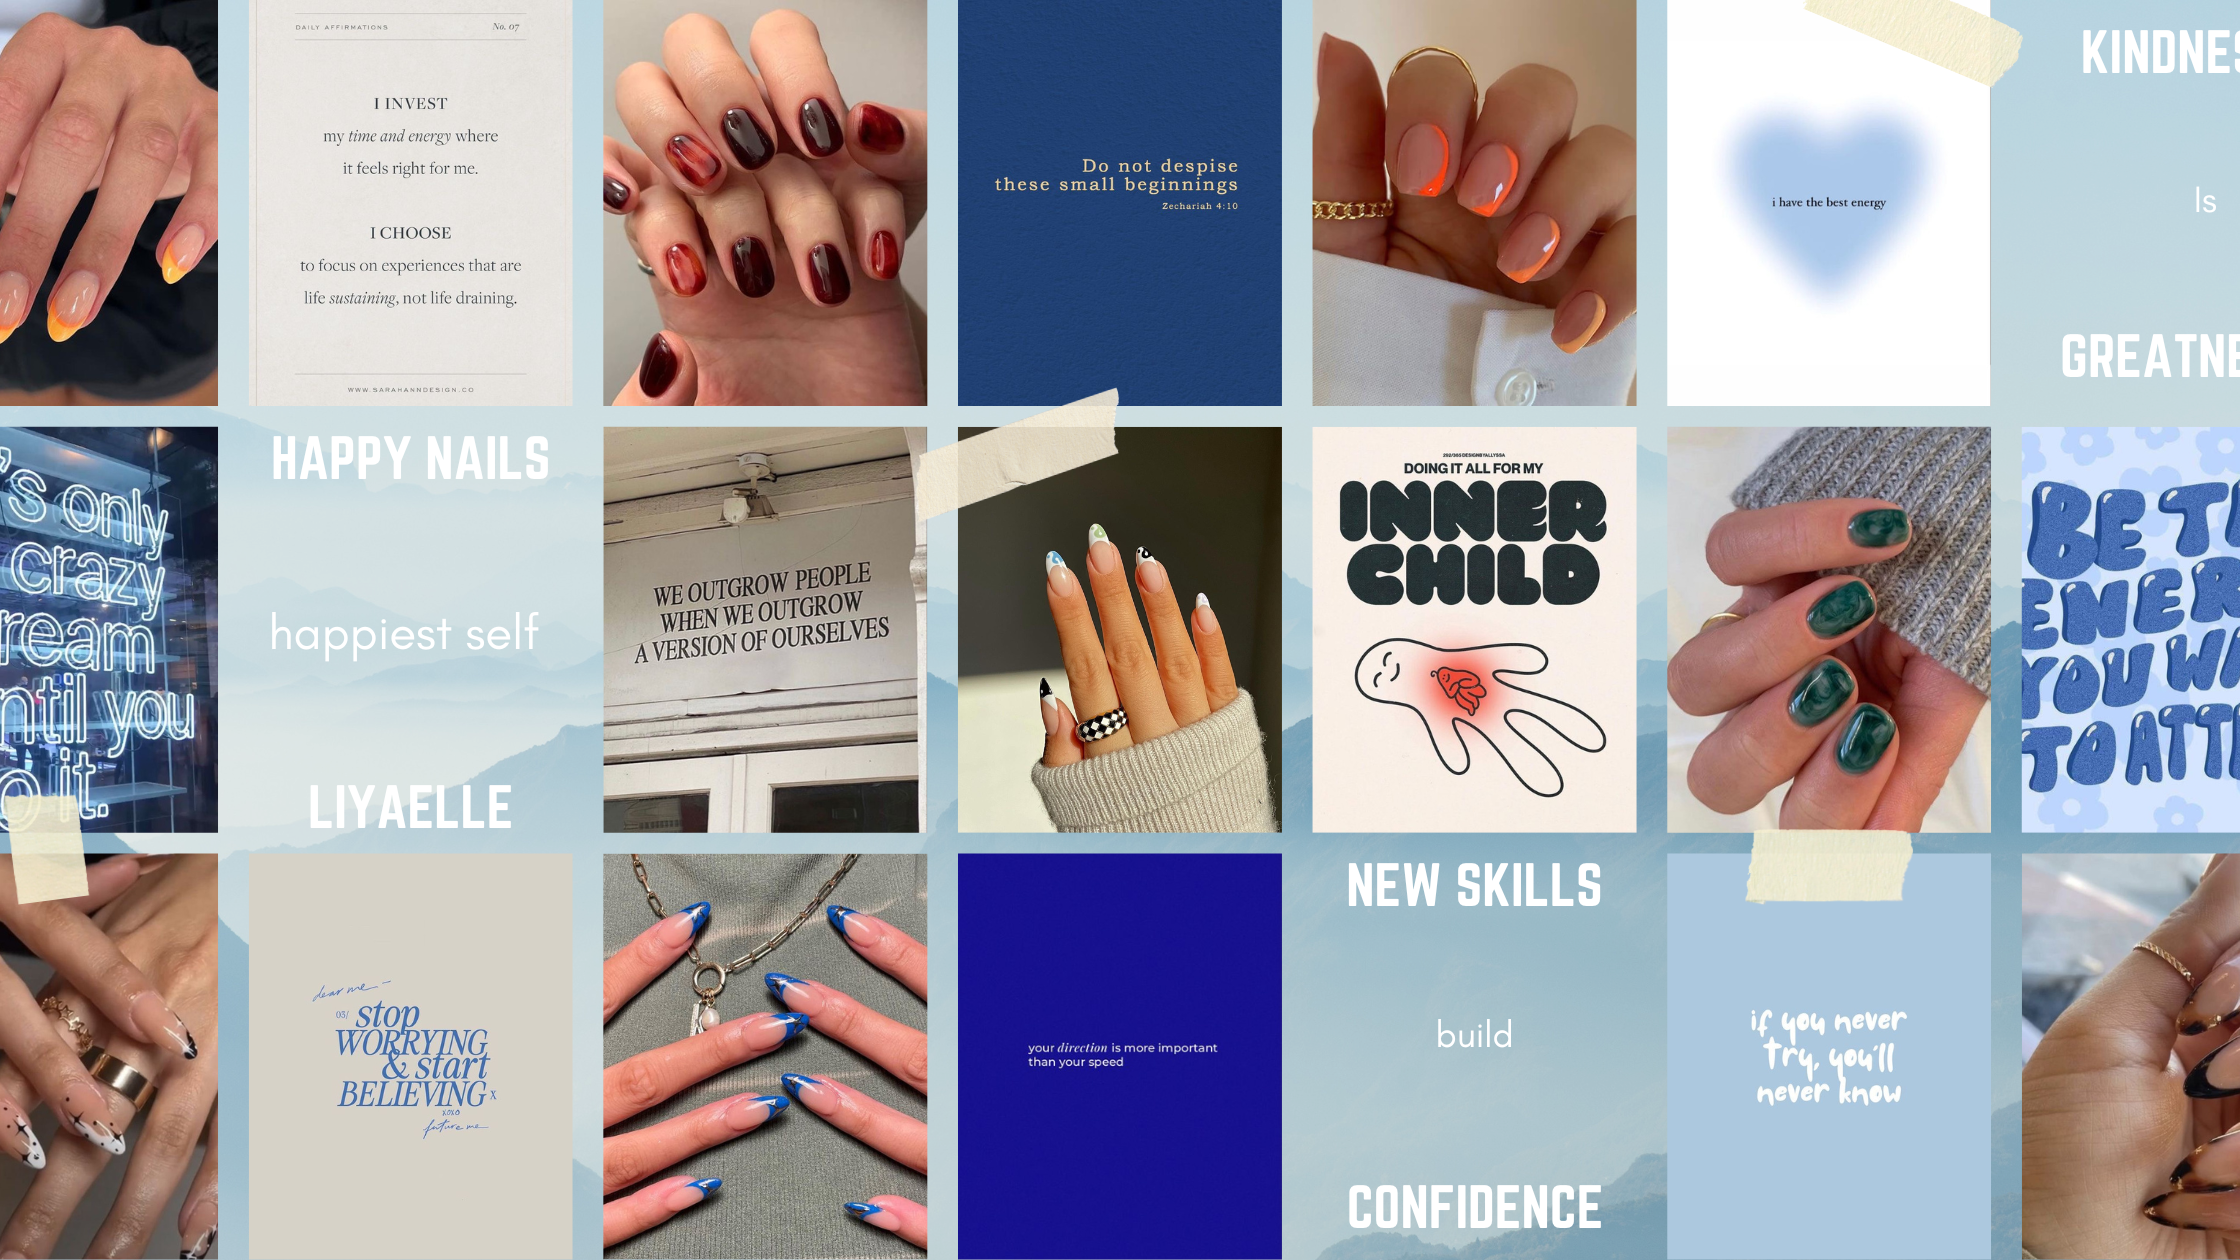
Today, we will be discussing one of the sneakiest ways our budgets bleed—nails. In your twenties, every dollar matters. Between student loans, side hustles, and self-discovery, small expenses can quietly drain your finances without you even realizing it. One of those sneaky costs? Nail salon visits.
When I added up my receipts, I realized I was spending over $100 a month on gel manicures, fill-ins, and spontaneous self-care splurges. That’s over $1,200 a year. So I made a switch. I invested in a few tools, learned the basics, and started doing my nails at home. The shift wasn’t just economic—it was empowering.
⏳ Time as a Currency
Doing your own nails takes time—but it also teaches patience, consistency, and pride. I learned to carve out an hour a week for myself. That time became ritual, not chore.
Plus, I got better at it. What started as crooked polish and smudged tips turned into neat, durable sets that lasted 10+ days.
🫱🏻🫲🏿 Why It’s About More Than Money
Discipline: Keeping a self-care routine made me more accountable elsewhere.
Skill-building: I'm learning a new skill that allows me to express creativity, focus on detail, and even support others who want to do the same.
Confidence: I stopped needing someone else to validate my appearance.
Skill-building: I now help friends prep for events or job interviews with budget-friendly mani.
Financial awareness: I became more mindful about all my "little luxuries."
Creativity: I got to experiment—designs, colors, shapes. It became a fun way to express myself without splurging.
💅 Nail Tools I Swear By:
If you're looking to start your own nail kit, here's what helped me build mine affordably and effectively:
🔩 Gel Foundations
Think of these as your nail base armor—preventing lifting and making polish last.
🗺️ Gel Colors (and Essentials)
Start with a versatile palette and the right tools to remove polish without damage.
⚒️ Nail Extras for Leveling Up
Once you get the hang of it, these tools help you experiment and extend your skills.
🫙 Gel Storage
🧴Cuticle Care
Healthy nails start at the cuticle. These are musts for long-term nail health.
🎓 Learning the Skill
Tutorials that helped me stop wasting polish and start slaying my sets.
I didn’t become good overnight. These free tutorials were essential to my glow-up—from learning how to prep properly to mastering builder gel and nail art. Take your time and go at your own pace.
Gel Manicure:
Everything you need to know about applying and removing gel the right way.
I like to use the gel polish remover I linked above because with 2 - 3 coats my gel polish is removed!
The Importance of Using a Builder Gel
Gel Pedicure:
Though I am still working on the mastery myself this a great Gel Pedicure Tutorial to help you get started!
👩🏽🎨 Nail Creators Who Inspire Me:
Final Thoughts
Even with all these savings, I still treat myself to a monthly gel pedicure—it’s a non-negotiable luxury that helps me feel refreshed without compromising my budget. Doing my own nails taught me that self-care doesn’t have to cost a lot—it just needs to come from you. Now, it feels like an art form, not just an expense. And while I still treat myself to the occasional salon visit, I no longer depend on it.
If you’re in your twenties trying to save, gain independence, or build self-trust, try starting with your nails. It might save more than just your money.