
Zero Waste, Zero Toxicity | Appliances That Actually Make Life Easier

Zero Waste, Zero Toxicity | Pantry Staples that Save Time, Money, and Takeout Runs

Tress Code | Plastic-Free Shampoos For Every Hair Type
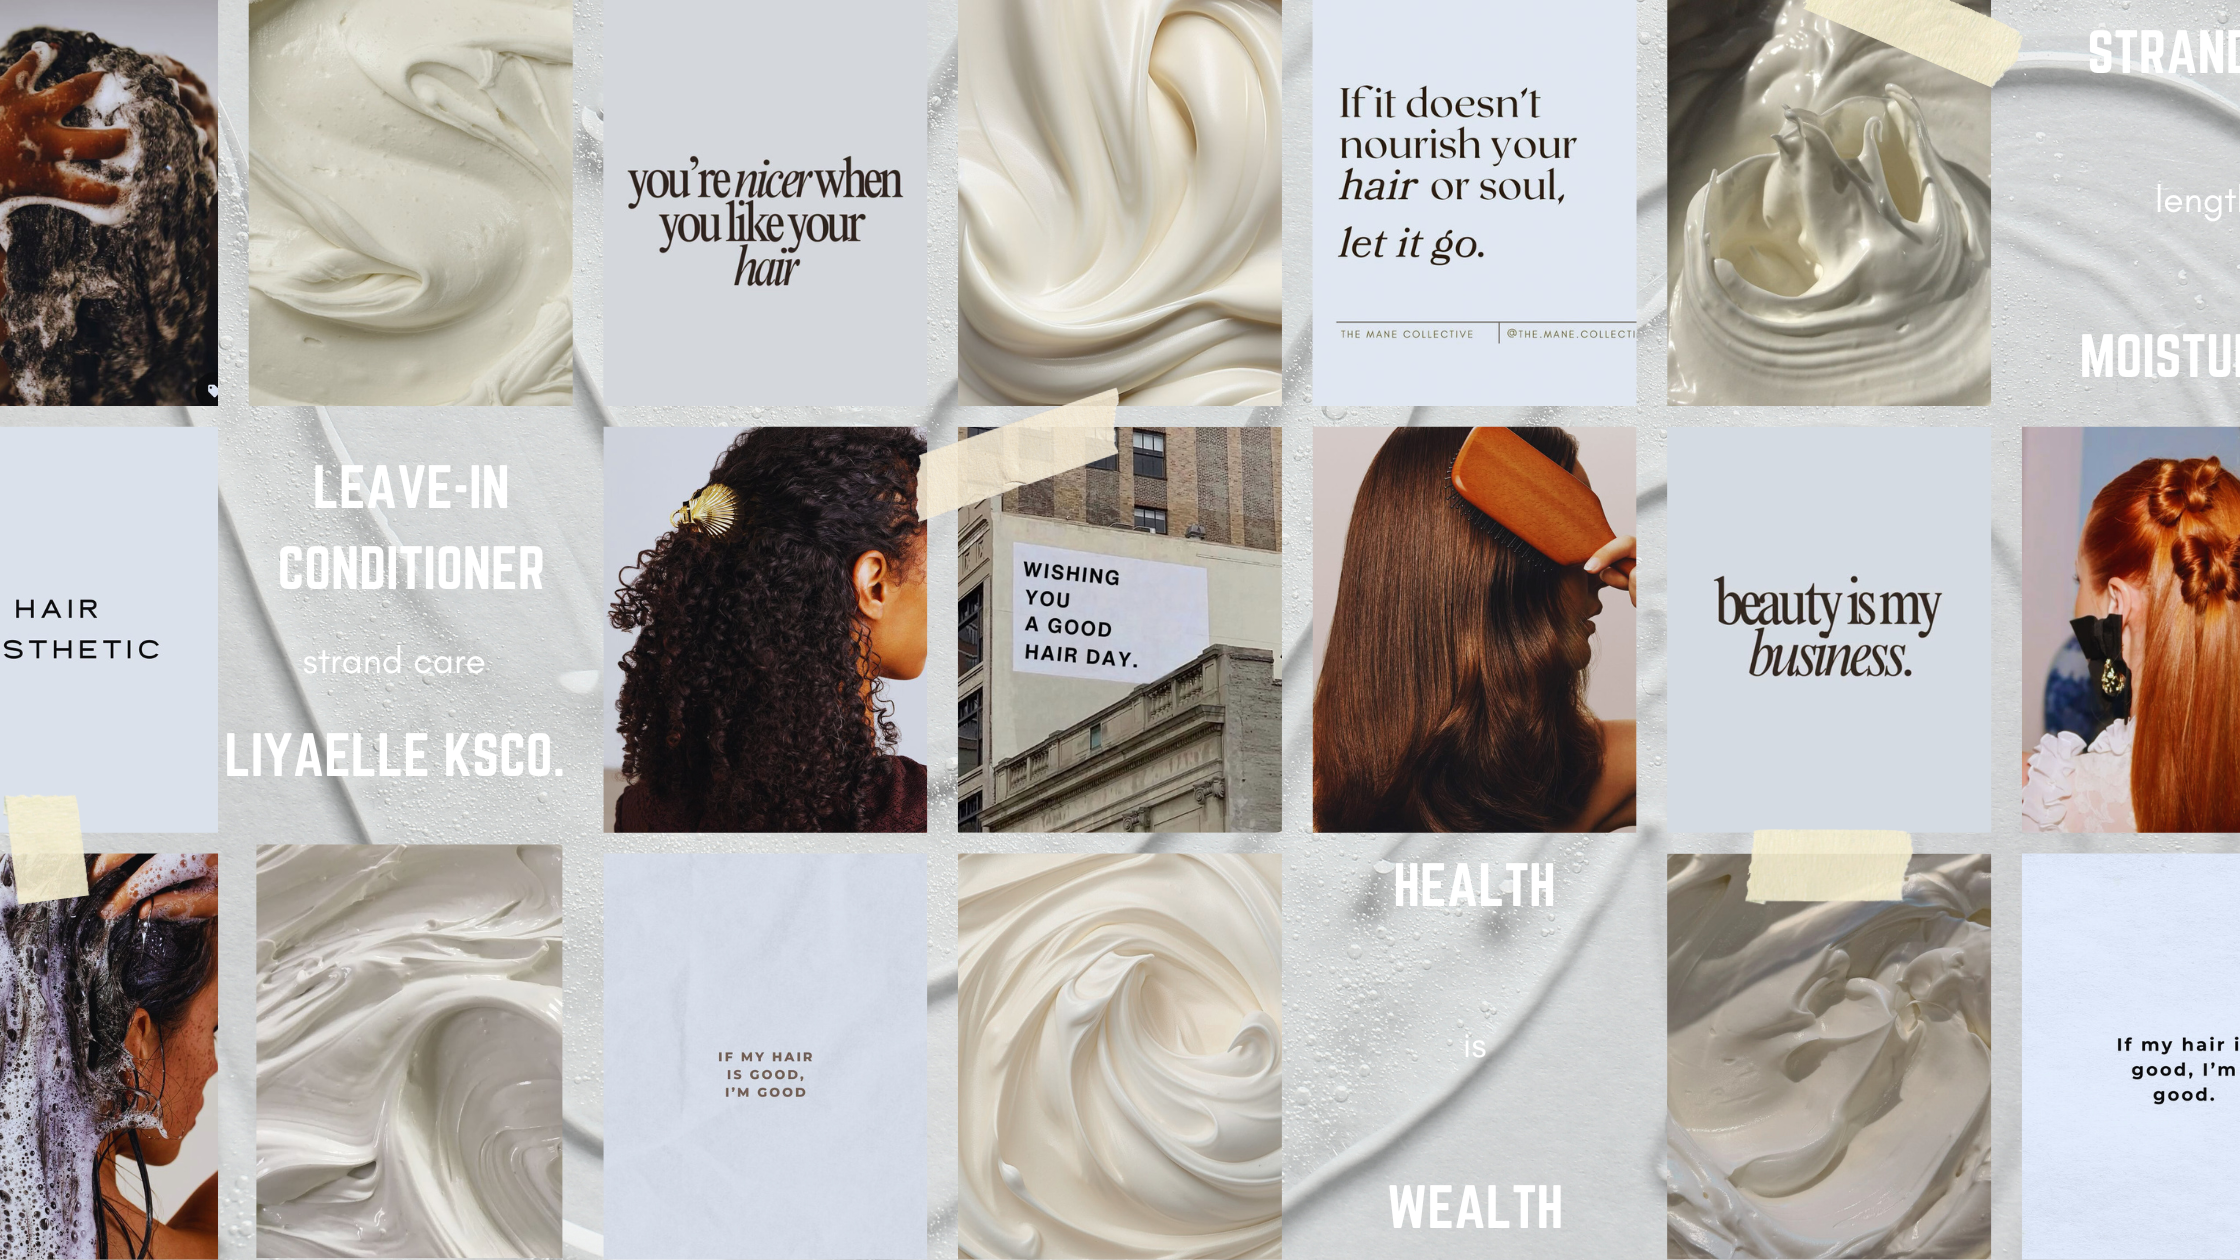
Tress Code | Leave-In Conditioner

Aging Gracefully | From Allergies to Flus: The Natural Remedies That Keep Me Healthy

Aging Gracefully | My Bodycare Ritual for Smooth, Hydrated, & Radiant Skin

Tress Code | Discover Your Moisture Blueprint
